Back
Back


7.2 Geofences
To create a new geofence, click Settings->Geofencing->Add geofence. Type in geofence name and select its color, then click on the map to begin drawing geofence. When you finish drawing geofence, double click the last point and click Save.
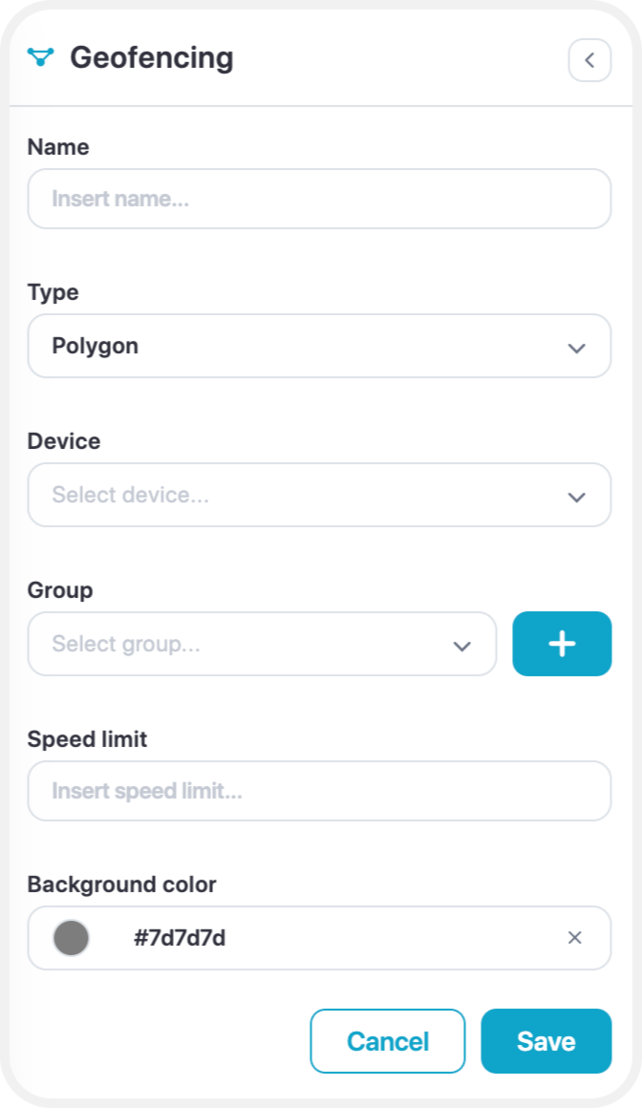
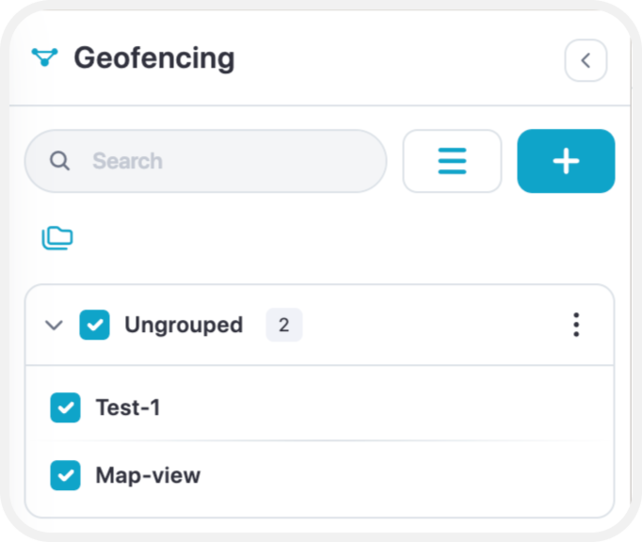
Once geofence is created you can view them all on the list and edit them anytime.
Import and export
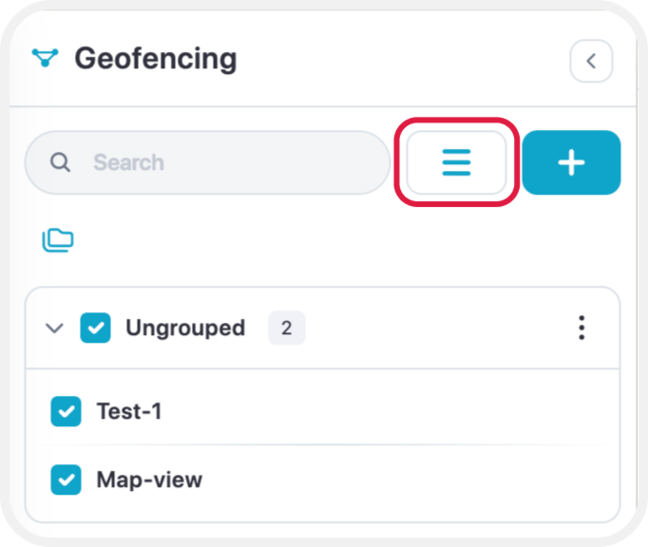
To import or export geofence click the button with a menu icon:
Once expanded menu opens choose the last button to export geofences.
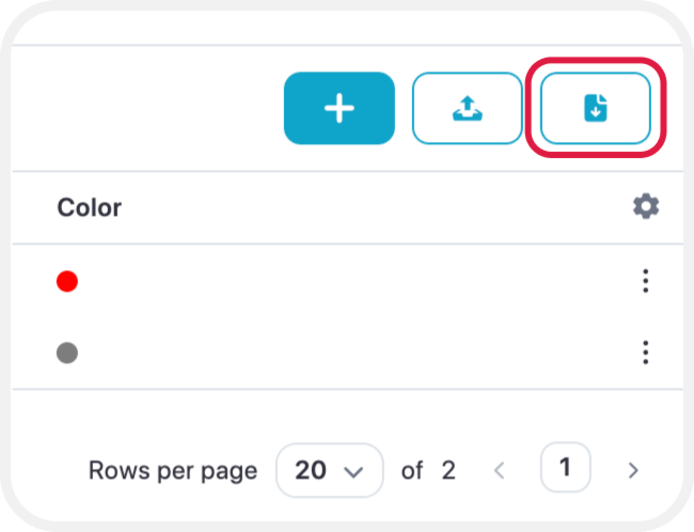
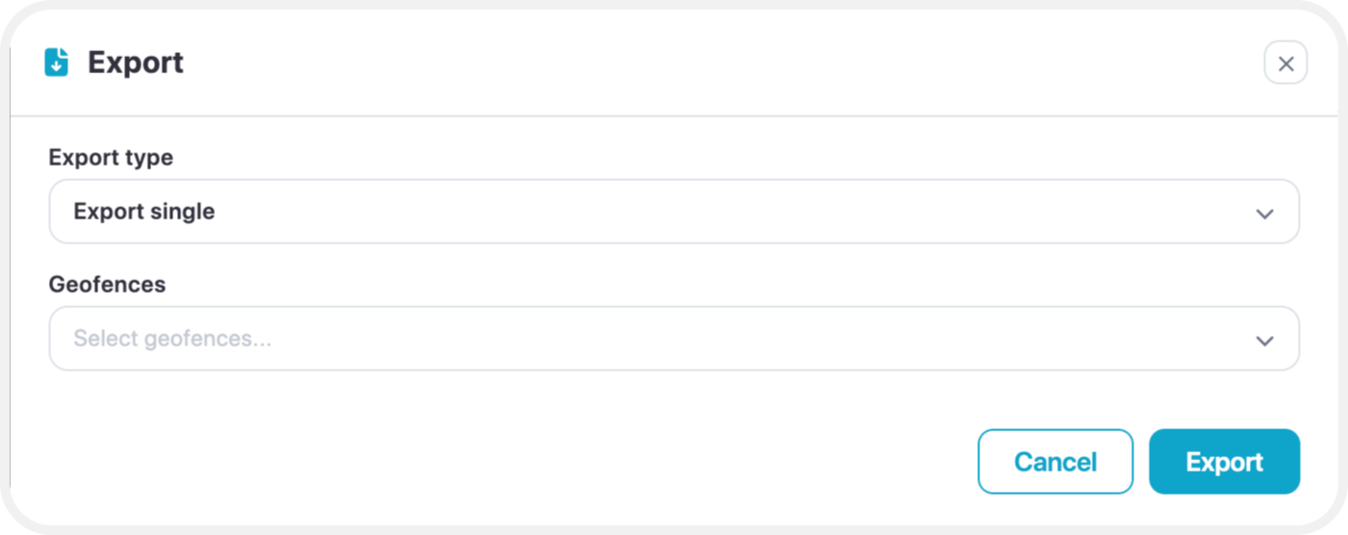
Export is saved in .gexp file.
For import can be used KML(polygon shape) or gexp file can be used.
.gexp file structure
It is a simple text file that has following structure.
Example (single):
{"groups":[],"geofences":[{"id":1130,"group_id":0,"name":"vn","coordinates":"[{\"lat\":48.108348176168,\"lng\":14.284973144531},{\"lat\":48.111099041065,\"lng\":14.403076171875},{\"lat\":48.035855735787,\"lng\":14.400329589844}]","polygon_color":"#a34949"}]}
Format:
"groups" - name of the group geofence belongs. Empty [ ] means ungrouped.
"geofences" - list of geofences. Inside it requires "id", "group_id", "name" and "coordinates" to be filled. "Coordinates" requires a list of "lat" and "lng" of coordinates to be filled.
"polygon_color" - color in html hex code.